The right cut and colour teamed with a great quality human hair or synthetic wig is the key to making wig wear work for you, whatever the underlying cause of hair loss or thinning.
Whether you want to cut your wig to achieve a more natural look or to add your own signature twist to a more generic style, deciding whether to do-it-yourself or visit a salon for professional help may be something you are currently toying with.
We’ve all ‘had a go’ at cutting our own hair at home – with varied results! But cutting your own wig can have a much better outcome with the following top tips…
Whatever your DIY trimming experience, going for an overly ambitious, complicated cut on your first try may not be the best move. Whether your aim is to remove wig damage or add a little extra volume, you should always start with smaller changes before working your way up to a salon-worthy do.
Using the correct equipment will make all the difference to the quality of the finish. You’ll need professional scissors, a rattail comb, a wig brush, and hair clips to get started, not to mention a steady hand and a little inspiration in terms of the style you’d like to achieve.
A stand is another wig care essential that will come in handy when trimming at home. Use your stand to hold the wig in place during the cut, making sure it stays straight to prevent any asymmetrical accidents!
You may be prepared with the right tools and equipment, but your wig needs to be given the once over before your cut too. Use your wig brush to gently detangle for a smoother trim. It’s also recommended that you wash and dry your wig before trimming.
While there are advantages and disadvantages to washing your natural hair before a cut, there is one very big plus-point to washing your wig before trimming, especially if you use a lot of product, as You Probably Need a Haircut explains:
“Product buildup weighs down your hair, which can affect layers and the final length of your hair after the cut. So when you’re scheduled for a haircut, try to avoid using any heavy or sticky hair products after washing your hair the day before your appointment. This gives your stylist the cleanest slate to work with.”
Your trimming technique all depends on which look you’d like to go for. Those wishing to lose length or add layers may be tempted to start at the front, but the back of your wig needs your attention first.
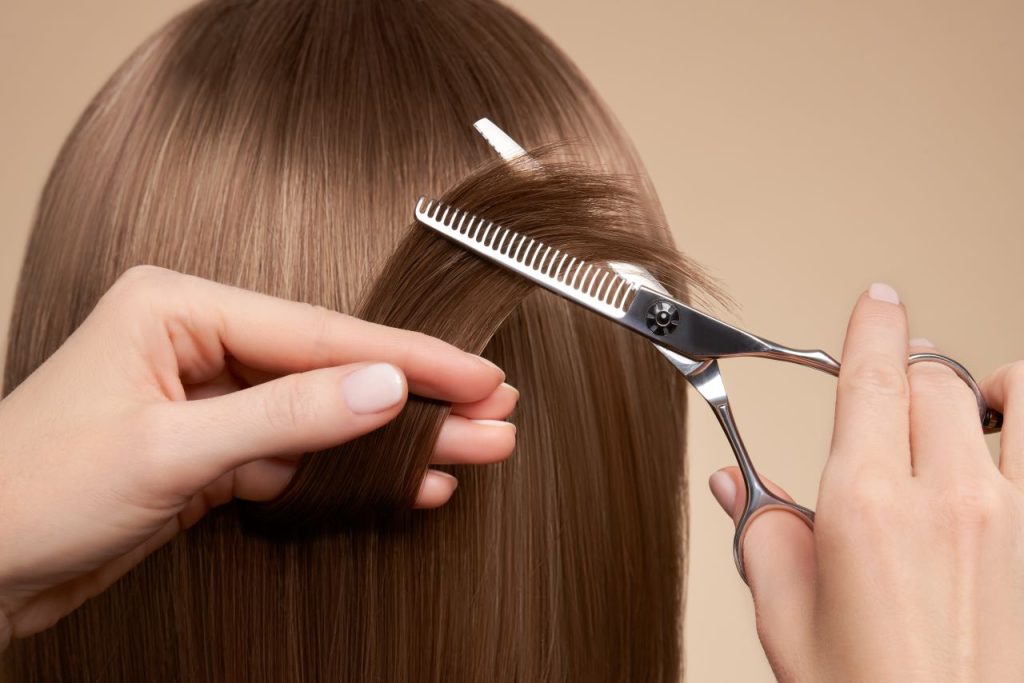
Before getting started, divide your wig into small sections using those hair clips we mentioned earlier, and move your fingers down each section to get the length you desire. Trim neatly at a 45-degree angle across your fingers. An angled cut will work to eliminate bulk as well as adjust the length. Simply repeat this step across every section from back to front.
To make sure your cut has the desired effect, style your wig post-trim to see the finished result. Now it’s time to enjoy your brand new look!